-
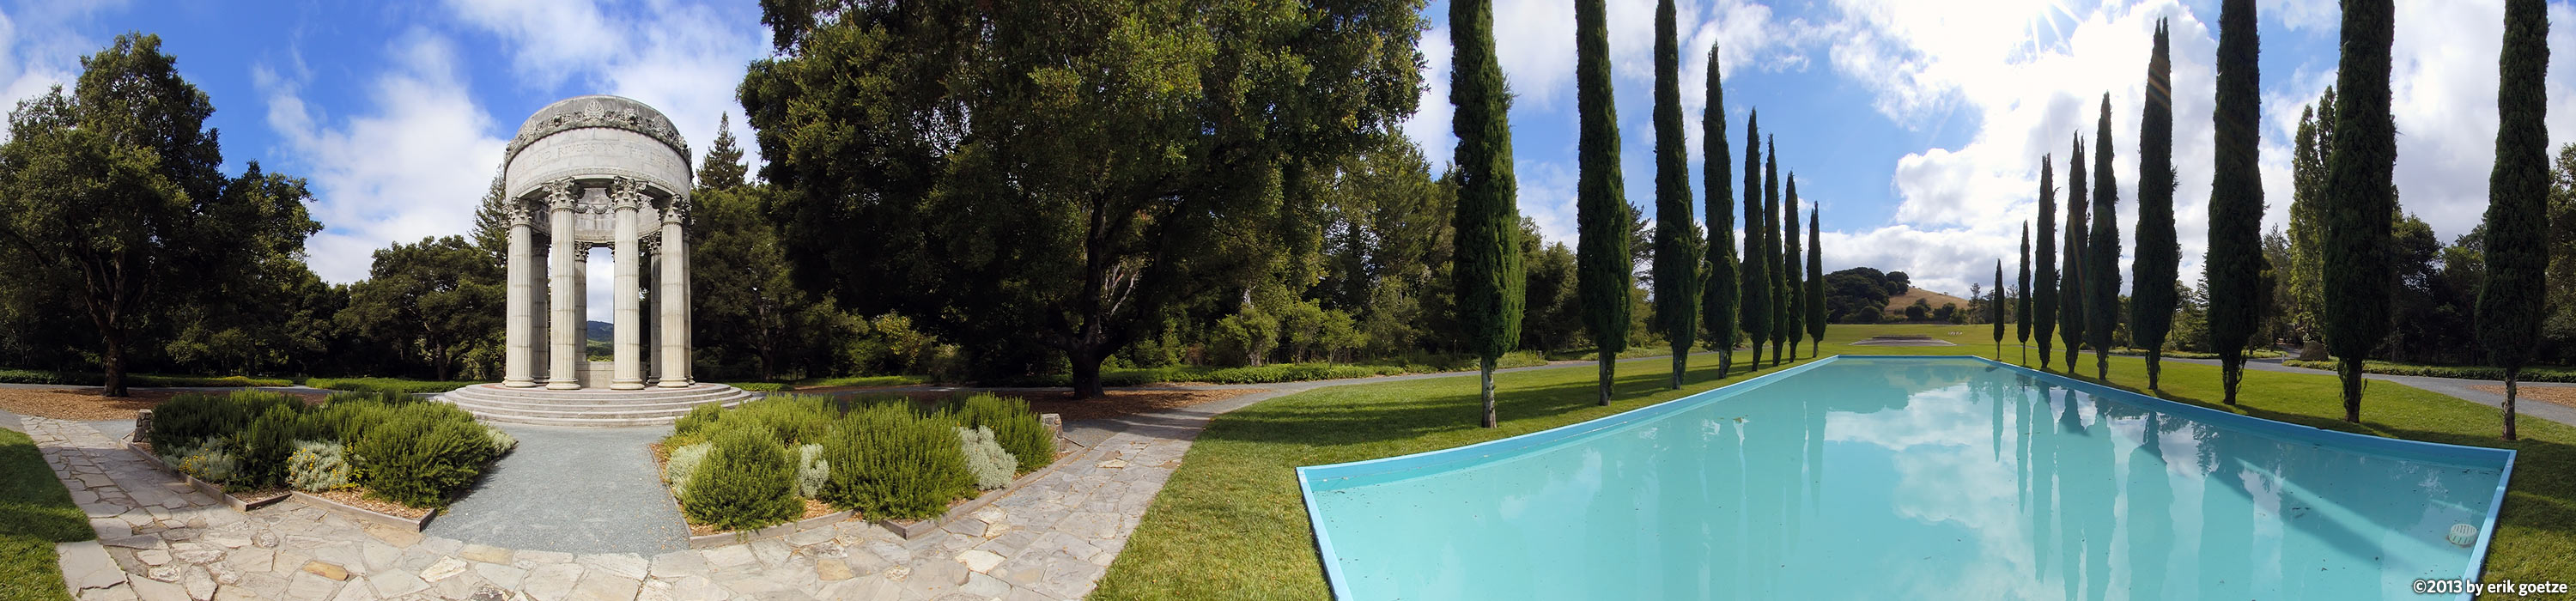 This 360 panorama is of the Pulgas water temple, California
VirtualParks.org process
The panoramic process
Overview of the process
How I do it
1. I usually hike to interesting scenes and carry my gear in a daypack.
2. I use different cameras depending on the portability requirements. All my panoramas are composite images, stitched together from between 12 and 18 separate overlapping images. The camera is mounted sideways on the tripod or monopod using a panhead. I use different panheads depending on how much weight I want to carry.
3. I transfer digital camera images to the computer via USB, or scan the film-based scenes myself using a scanner.
4. I use a variety of stitchers to stitch the images together.
5. The same software usually creates the virtual reality scene file from the stitched image.
All my panoramas are composite images, stitched together from 12 (sometimes up to 18) separate overlapping images.
Photography: During my first year of shooting
scenes, all panoramas were captured using a Canon T90 and Canon FD17mm
rectilinear lens atop a Bogen 3246 or 3221 tripod using Kodak Gold
400 speed color negative film, scanned onto PhotoCD. For the following
few years all photos were taken with a Nikon N90. I use a variety
of film... usually Kodak but for different situations I switch to
Agfa or Fuji. I scan the film myself, for complete control over reproducing
what I saw at the scene. Lately I've been experimenting with Nikon
digital cameras, such as the CoolPix 5000.
QuickTime/VR: Scenes up to mid-1997 were created using Apple's
QTVR Authoring Tools v1.0. After that I started using Apple's QTVR
Authoring Studio v1.01. In almost all cases each scene was built from
twelve photos taken at 30 degree intervals. The QTVR Authoring software
stitches the photos together, blending and sharpening the final composite
panorama. I then opened the resulting PICT file in Photoshop and made
adjustments to compensate for variation imperfections, such as dust
on the negative. Finally the scene is "diced" and converted
into a QuickTime movie by the authoring tools. Finally the QuickTime
files are uploaded using the automatic site upload function of Dreamweaver.
More information is available
with tips for making your own panoramas.